Greetings,
Hope you had a great weekend. We survived the great snow storm of 2011. Now it is time to get back to work. I am blogging to give you an update on my podcasting and vodcasting class I am teaching at my elementary school. That’s right podcasting and vodcasting with students as early as first grade! This class is going on from 7:30 – 8:00AM Monday thru Friday.
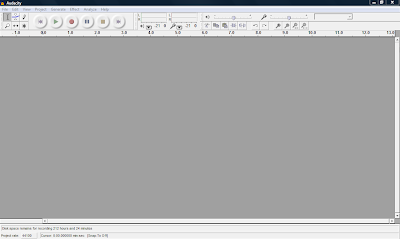
At our school we have enrichment classes where the students who are doing extremely well have the opportunity to take advanced classes. Currently I am working with elementary students who are excited about recording their own voice in the computer and adding background music to create their own podcast.
For more information on the blog article I published last year on audacity, please click here. If you look below, here is a sample introduction podcast we created in the class.

2. How to operate the camera
3. How to record other students talking
4. How to position the student in the camera frame.
5. How to edit their video in Windows Live Movie Maker
6. How to add cinematic effects, transisitions, titles and credits
7. How to produce or publish the video using Windows Live Movie Maker
I am finding out that the students really enjoy learning these skills at an early age. The students are fascinated and excited about the class. I recently found out that the program audacity is also being taught at our high school level in the Video Technology class. I am excited for the students and I wish I had a class like this one when I was in elementary school. I will be sharing more details of this class in future blogs. Take care and we will see you next week.
readmore »»
Hope you had a great weekend. We survived the great snow storm of 2011. Now it is time to get back to work. I am blogging to give you an update on my podcasting and vodcasting class I am teaching at my elementary school. That’s right podcasting and vodcasting with students as early as first grade! This class is going on from 7:30 – 8:00AM Monday thru Friday.
At our school we have enrichment classes where the students who are doing extremely well have the opportunity to take advanced classes. Currently I am working with elementary students who are excited about recording their own voice in the computer and adding background music to create their own podcast.
For more information on the blog article I published last year on audacity, please click here. If you look below, here is a sample introduction podcast we created in the class.

Once the students have mastered the basic skills in audacity, I move on to teaching them how to create a vodcast using the new pocket digital flip cameras. (This objective is part of my 4 week course on Digital Video). To learn how to use this camera you can visit the blog article I published last year: http://mrybarra.blogspot.com/2010/04/flip-digital-video-camera-in-classroom.html Here are a few technology skills I teach the students:
1. How to hold the camera
2. How to operate the camera
3. How to record other students talking
4. How to position the student in the camera frame.
5. How to edit their video in Windows Live Movie Maker
6. How to add cinematic effects, transisitions, titles and credits
7. How to produce or publish the video using Windows Live Movie Maker
I am finding out that the students really enjoy learning these skills at an early age. The students are fascinated and excited about the class. I recently found out that the program audacity is also being taught at our high school level in the Video Technology class. I am excited for the students and I wish I had a class like this one when I was in elementary school. I will be sharing more details of this class in future blogs. Take care and we will see you next week.


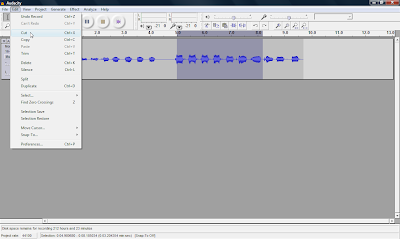
 Open Audacity and click on Edit -> Preferences -> File Formats Now this is what you will see. Click on Find Library and follow the instructions. (Here is where you want to find the LAME Mp3 Encoder file, remember it is under


 You can also record many multiple tracks to add to your podcast, which is one of the many features you can't do with movie maker 2.
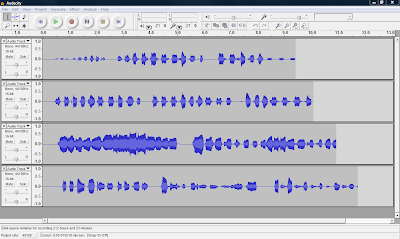